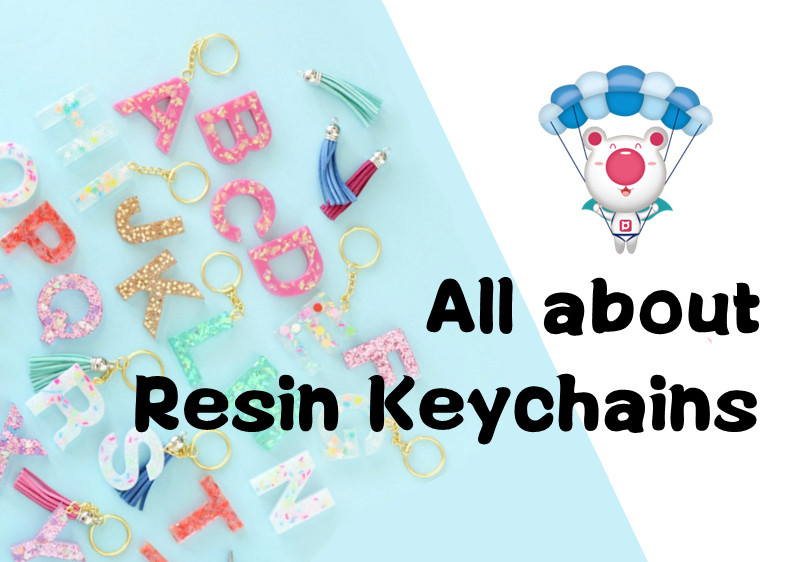
All about Resin Keychains

Resin art is one of the most versatile and beautiful art forms that allow for umpteen opportunities. There are numerous fun and easy crafts that can be produced with resin, and an epoxy keychain tops the list. A keychain is a very valuable item and comes in a wide variety of forms and sizes. A custom acrylic keychain permits customizability and, therefore, holds immense emotional value as well. Let’s dive deeper into the world of resin keychains.
What are Resin Keychains?
A resin keychain is alluring, lightweight, as well as perfect for gifting and selling. It is made using epoxy resin, colors, embellishments, and a handful of straightforward tools. Resin keychains are fabricated by tempering resin from its liquid to its solid state via a two-step casting process to produce the final epoxy keychain.
What are Custom Acrylic Keychains?
A custom acrylic keychain is one that is made using acrylic, a transparent plastic material with outstanding rigidness, strength, and optical limpidity. It has negligible weight and is cost-effective, sustainable, odor-free, and water-resistant. Custom acrylic keychains can be specially designed to reflect a business, an event, or absolutely anything an individual wants. Whether you want your pet’s picture on a keychain or a song that has been running through your mind lately, a custom acrylic keychain is a convenient means to do so. It can employ multiple techniques, including holographic, epoxy, etc.
How to make Resin Keychains?
Making a resin keychain is not a very difficult job; it just requires precision and attention to detail. A few steps need to be righteously followed to get the job done.
Step 1: Setting up your workspace:
It is important to have a clean and dust-free workspace. All the materials required, including resin, colors, embeds, molds, keychain rings, plastic cups, wooden stirrers, tweezers, etc., should be gathered. Nitrile gloves should be worn, and a mouth cover is also required.
Step 2: Mixing epoxy resin:
Manufacturer’s instructions should be taken into consideration. However, usually, equal quantities of both resin and hardener are poured and mixed using a wooden stirrer. Bubbles should be avoided.
Step 3: Color the resin:
It is optional to color the resin using a few drops of alcohol ink or mica powder. Stir until the color is properly distributed. Flowers, glitter, and other embeds can be used.
Step 4: Pouring resin into a mold:
The resin mixture must be carefully poured into a mold of choice and fill up to the very top.
Step 5: Cure:
The resin needs to be cured at room temperature and left untouched. This curing process can take up to 24 to 48 hours.
Step 6: Unmold:
When the resin has completely hardened, the ornament needs to be taken out of the mold.
Step 7: Drill a hole:
A hole needs to be drilled on the top of the ornament, which should be done right after the resin has cured, so it is easier to work with.
Step 8: Inserting keychain ring:
The screw hook has to be inserted by twisting and attaching the keychain hanger. Your resin keychain is now ready.
Where can you use an Epoxy Keychain?
An epoxy keychain can be used in multiple ways. It serves as an amazing gift and can also be sold. It can be used to secure keys, USBs, and other small yet valuable items. It makes for an item that has sentimental value, as well as is useful and pretty.
If you are looking for the best resin keychain, the right custom acrylic keychain, or the most appealing epoxy keychain, Pdodo is the place for you. Visit and get your hands on the best keychains.
